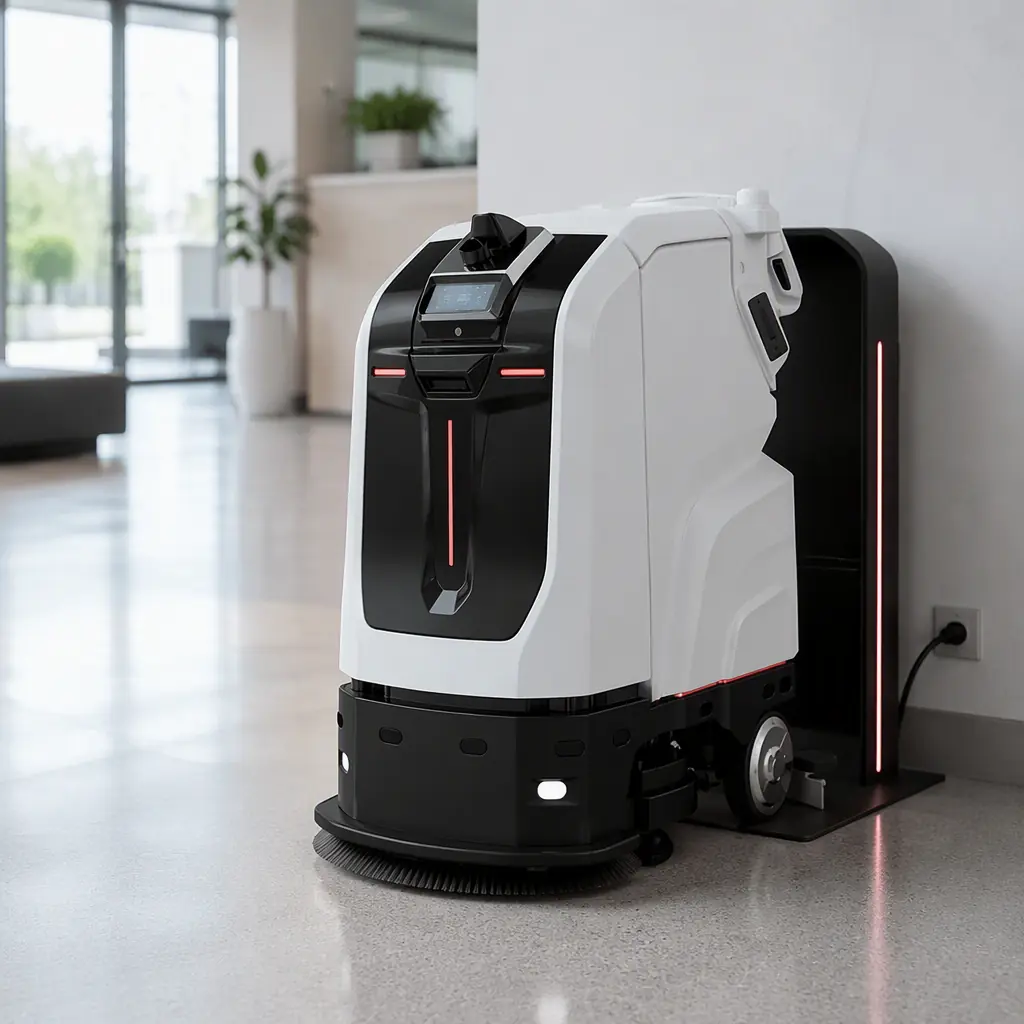
A hotel chain in the Middle East took delivery of six delivery robots, signed the invoice, and then spent a week discovering the Wi-Fi in the service corridors was a dead zone. The robots never left the lobby. That is not a robot failure — it is an acceptance-testing failure. The purchase was judged on the showroom floor, not on the actual site, and there was no structured FAT/SAT to catch the mismatch before the money moved. This guide gives you the acceptance-test protocol a service robot vendor should be happy to run with you — the one that separates a subscription asset from a docked paperweight.
What FAT and SAT Actually Mean
FAT (Factory Acceptance Test) and SAT (Site Acceptance Test) are two checkpoints borrowed from industrial equipment procurement. They exist to answer the same question as a spec-sheet review: does the delivered unit actually perform as promised?
- FAT happens at the factory before shipping. You verify the unit is the configured model (not a demo unit), matches the ordered specs, has the correct accessories, and passes a functional smoke test. For a fleet order you verify serial numbers, firmware versions, and optional modules.
- SAT happens on your site after delivery and installation. This is the one most skipped. It verifies the robot works in your environment — your Wi-Fi, your thresholds, your elevator integration, your dock location — not the vendor's demo space.
The fatal mistake is treating "it turned on and moved" as acceptance. That is not a test. A real SAT measures the robot against the contract's operational claims: coverage, runtime, docking, and navigation accuracy on your floor plan.
The Pre-Ship Site Readiness Checklist
Before the robot is crated, your site must pass five readiness gates. Do this during the vendor evaluation, not after delivery, because retrofitting a site is expensive and delays the very ROI you bought the robot for.
| Gate | What to verify | Typical pitfall |
|---|---|---|
| Power | A dedicated charging dock location with the correct voltage and clearance | Dock placed in a corridor where it blocks egress |
| Network | Wi-Fi/mesh coverage across every route, or cellular fallback | Corridor dead zones that strand the robot |
| Access | Elevator integration, door automation, gate/security system APIs | Elevator API not supported → robot can't climb floors |
| Terrain | Thresholds, slopes, ditches, and deck-width clearance | A ramp that exceeds the robot's slope rating |
| Storage | Dock bay, spare-parts area, and maintenance access | No room to swap brushes or charge a backup unit |
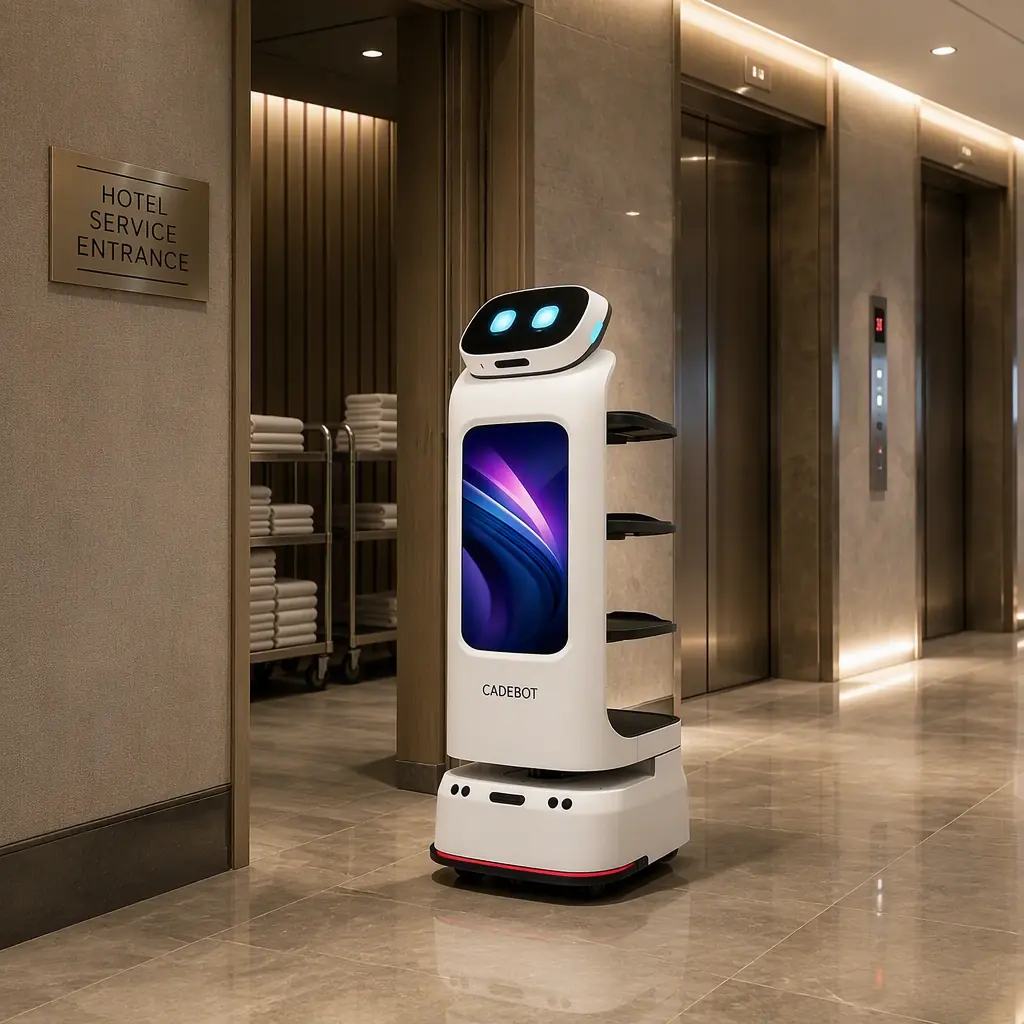
Real numbers matter here. A CADEBOT L100 clears a 25 mm hurdle and a 60 kg payload on four 15 kg trays — but if your service elevator only takes 58 kg, the math changes. A CLEINBOT M79 scrubber is rated for a ≤5° slope; the outdoor CLEINBOT CC201 handles ≤8°, but a steep loading dock ramp can still exceed it. Check the spec sheet for the exact mobility limit and confirm your worst-case threshold.
What a Typical On-Site Installation Looks Like
A professional installation is a defined sequence, not a vague "we'll drop it off." Expect roughly one to two days per site for a single robot, more for a multi-floor or multi-building deployment (see the multi-site deployment strategy).
- Site mapping — the technician runs the robot through the map to build a floor plan. The CLEINBOT C2 Pro, for example, supports maps over 100,000 m² for large campuses.
- Dock setup — position the charging dock, confirm charging contacts, and test the auto-docking approach.
- Waypoint and route training — define the runs, set avoid-zones (mats, cables, stairs), and confirm the robot observes them.
- Elevator integration — pair the robot with the elevator control system and test multi-floor calls.
- Onboarding and handover — train your staff, confirm the staff training and certification plan, and hand over the dashboard.
The whole point is that the robot is left audited and working on your floor plan, not merely switched on.
The FAT/SAT Acceptance Plan: What to Sign Off
Whether the vendor offers a formal sign-off or not, you should run this checklist and attach it to the final payment. It is the difference between buying a fleet and funding a field test.
| Test | What you're verifying | Pass criteria |
|---|---|---|
| Docking & charge | Robot returns to dock and charges correctly | Auto-docks 3/3 times; reaches 80% within the rated time |
| Runtime | Battery holds a full shift on your route | Matches the datasheet runtime (e.g., M79 8 h, CC201 10 h) |
| Coverage | Cleans/delivers the full mapped area, not just a demo zone | Zero skipped cells on the acceptance route |
| Navigation | Obstacle avoidance and accuracy in your layout | No collisions; ±1-2 cm positioning on the CLEINBOT C2 Pro |
| Elevator | Multi-floor travel works with your system | Up/down 3/3 times with correct auto-door sequence |
| Software | Fleet dashboard, reporting, alerts all live | You can see the robot, its status, and its logs remotely |
If the robot fails any of these, do not fund the balance. Document it, agree a remediation schedule with the vendor, and retest. That is why the pilot program is designed around a 30-60-90 day gate — it de-risks a large spend.
Installation Failures That Kill ROI
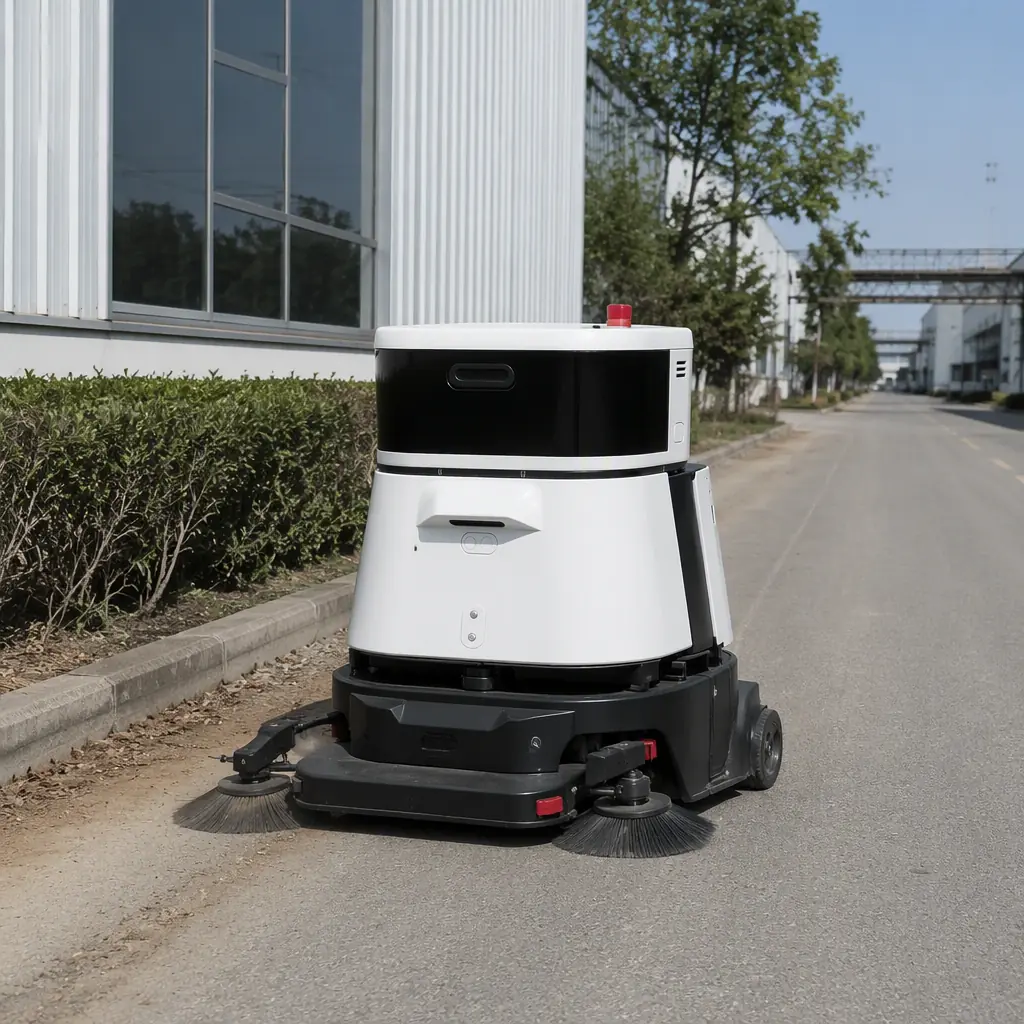
Most robots that underperform were not badly built; they were badly installed. The recurring culprits, from the failure-modes guide, all trace back to acceptance:
- Poor network — the robot loses connectivity and stalls mid-route; it becomes a manual task again.
- Unmapped floors — cleaning coverage drops because the map was never fully trained.
- Overlooked terrain — a ramp or threshold exceeds the drive rating and the robot shuttles between two predictable failure points.
- Dock clearance — not enough space to dock, so the robot parks where it gets blocked by foot traffic.
Every one of these was preventable with a pre-ship site audit and a SAT that tested the real route.
How to Protect Your ROI During Commissioning
Your ROI is decided at commissioning, not at contract signature. The ROI guide shows that an under-deployed robot never returns its cost because the utilization rate collapses. To lock it in: run a pre-ship site audit, insist on a documented SAT, and only fund the full balance once every acceptance test passes.
The Bottom Line
A service robot is a promise about performance in your exact environment. FAT confirms the hardware matches the order; SAT confirms it performs on your floor. Neither is optional. If a vendor pressures you to skip the acceptance test, that is the strongest signal in the vendor evaluation framework to slow down. Map the site, check the terrain, verify the dock, and test the real route — then pay. Browse the solutions page to see delivery and cleaning robots deployed with a documented commissioning process.